6 Steps For Creating a Personalised Wedding Guest Book
In the whirlwind that is your wedding day, it’s easy to get lost in all the excitement and be overwhelmed by the outpouring of love from your family and friends. A wedding guest book is a simple way of capturing those in-the-moment thoughts and feelings so that you can relive them again and again. Perhaps it’s a few words of wisdom from your grandparents about the secret to a successful marriage or how you’ve inspired a friend on their own quest for love.
With space for handwritten notes alongside couple photos taken throughout your relationship, a custom-designed wedding guest book is a beautiful memento that will do those words justice. To help you create your very own, here’s our step-by-step guide, including some of our tried-and-tested tips.
Step 1 – Select photos that tell your story
If you’ve done an engagement session, then a wedding guest book is a great opportunity to showcase those professional photos to your family and friends. But you can also gather images taken throughout your relationship, captured by yourselves or sourced from family and friends. Look for photos that celebrate different milestones or radiate love. Then lay them out in a logical order, whether that’s chronologically or to create variety as your wedding guests flick through the pages to leave their messages.
Step 2 – Design a balance of text and images
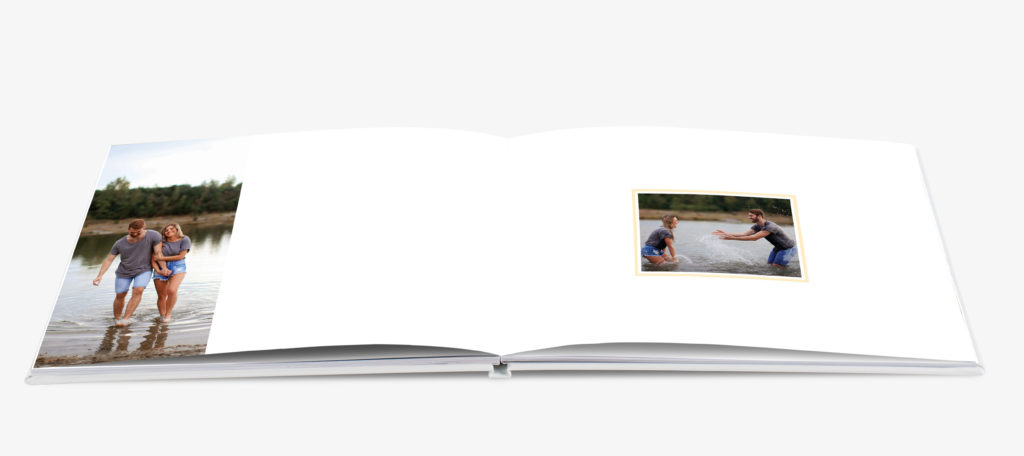
A personalised wedding guest book is all about the words, so make sure you leave plenty of space for guests to write their handwritten notes. Perhaps you want to showcase a full-page photo on one side of the spread and leave the other free for words or maybe incorporate a series of smaller photos while still allowing for plenty of writing room.
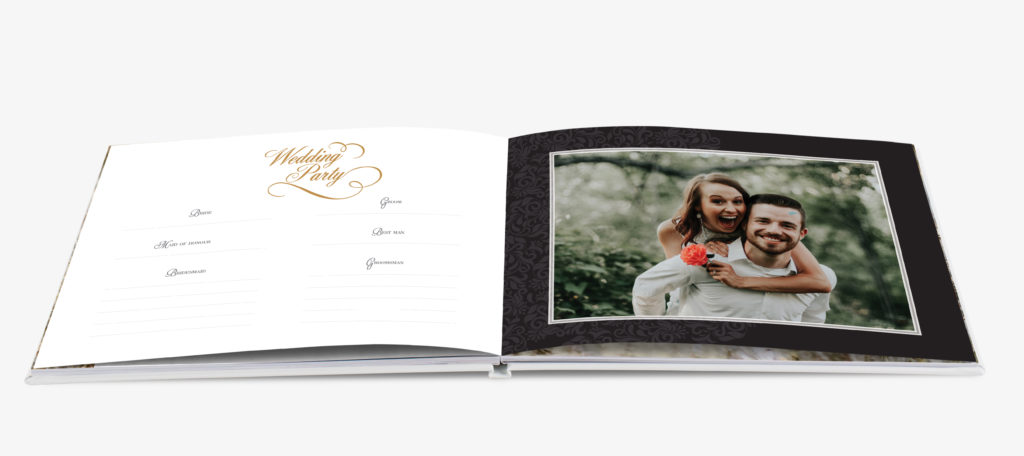
When creating your design, keep in mind the size of your wedding party and make sure you have enough pages for everyone to sign. You can designate specific places for your bridal party and immediate family to leave their messages or write a few words to your wedding guests at the start of the book about how much their well wishes mean to you.
Step 3 – Choose your paper type
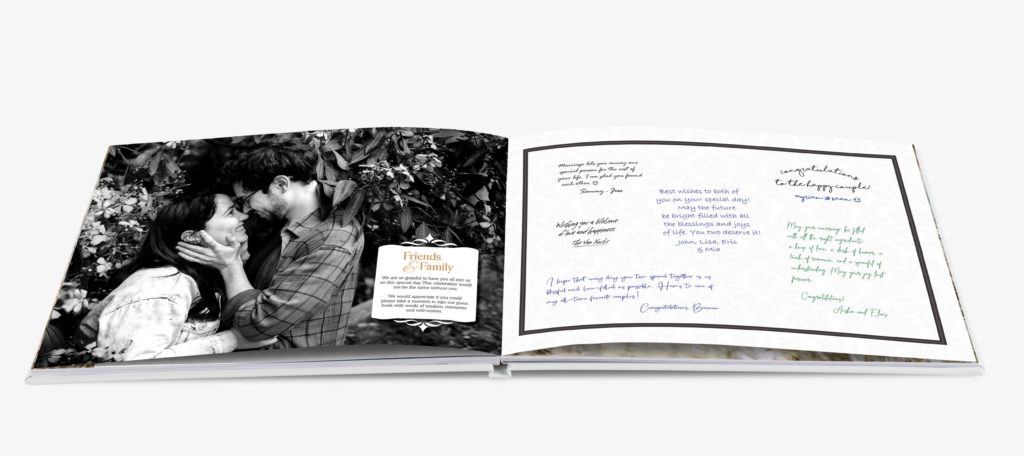
While there are several different paper options available, we always recommend that our clients use our standard photo book paper when creating a wedding guest book. The matte finish of the paper is ideal to be written on while still giving your photos a professional look.

Step 4 – Select your cover type
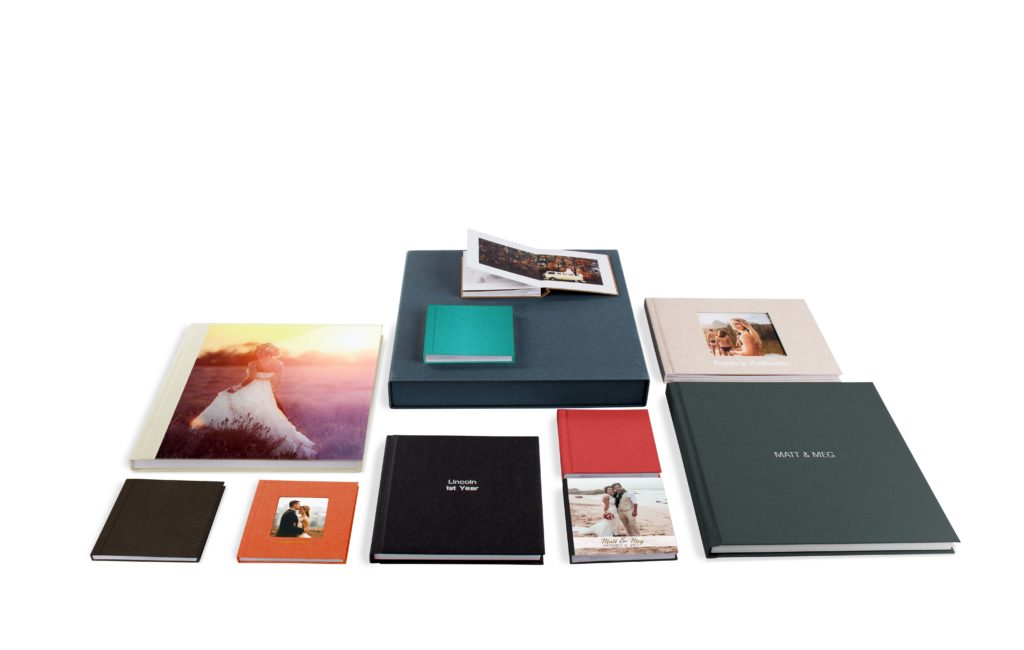
Our professional wedding guest books come with your choice of hardcover, including supple leather, elegant linen or a customised photo cover. You can showcase one of your favourite couple images on the front page or opt for a sophisticated linen or leather with a finish that reflects your wedding day theme. The cover can also be embossed with a title in a style of your choosing.
Step 5 – Choose a pen
Rather than letting your guests sign with any old pen, it’s important that you select a writing implement that’s going to be visually appealing and long-lasting. We recommend a felt tip pen such as the Stabilo Point if you’re using standard matte paper or a fine tip permanent maker if you choose one of our other paper. Neither will bleed across the pages or rub off, ensuring your message of love will endure as long as your marriage does. Remember to leave the pen somewhere obvious so guests instinctively pick it up, it’s also a good idea to have a few back-up pens incase one is lost.
Step 6 – Add an optional photo book box
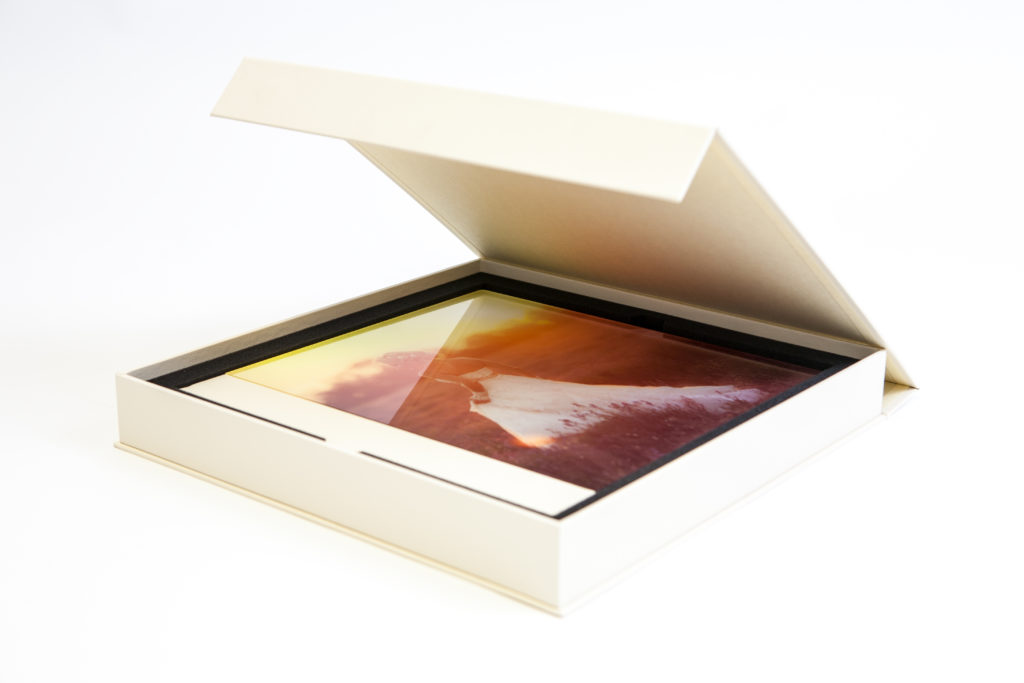
If you want to add the finishing touch to your custom guest book, opt for a photo book box to protect your keepsake for many years to come. Constructed from thick board and featuring a sleek black finish, these refined presentation boxes will ensure your custom wedding guest book remains in premium condition for generation after generation.
