Whether you’ve just said “I do”, experienced the holiday of a lifetime, or welcomed a new baby into the world, there are many reasons to make a photo book or photo album. And you have to admit, there is something undeniably magical about flipping through a beautifully designed photo book to relive the special moments of your life that brought you joy and happiness, instead of scrolling through hundreds of photos on your smartphone.
Creating a stunning photo album or photo book that not only tells a great story but also adds visual appeal to your coffee table and living space might seem like a daunting task, but it doesn’t have to be. In this comprehensive guide, we’ll take you through the 7 steps that will help you make a gorgeous photo book with minimal design expertise.
STEP 1: Digitize Your Old Photos
Skip this step if your photos are already in a digital format. However, if you have a lot of old photos, digitizing them is the first step to creating a quality photo book. To do this, you need the following:
- Scanner or smartphone
- Clean microfiber cloth
- A well-lit area
- Use a clean microfiber cloth to gently wipe away debris and dirt from the surface of each photo to ensure better scanning quality.
- Place photo face down in scanner and adjust resolution to 300-600 DPI. Scan and capture image on your computer. If using a smartphone, position photo on a flat surface, in an area with good lighting. Avoid casting shadows by aligning camera with the photo.
- Expert tip: Instead of using the camera function on your phone, use a scanner app for significantly better quality photo captures. Google PhotoScan, Microsoft Lens, Adobe Scan, and Pic Scanner are just some of the few scanner apps available.
- Review captured images for quality. Crop where necessary and adjust for brightness and contrast. The camera software on your phone is great for making minor adjustments easily.
Did you know? We provide standard photo editing as part of our album design service.
STEP 2: Curate / Organize Your Photos

To ensure that your photo book tells a coherent and visually appealing story, follow these steps to organize and curate your photos.
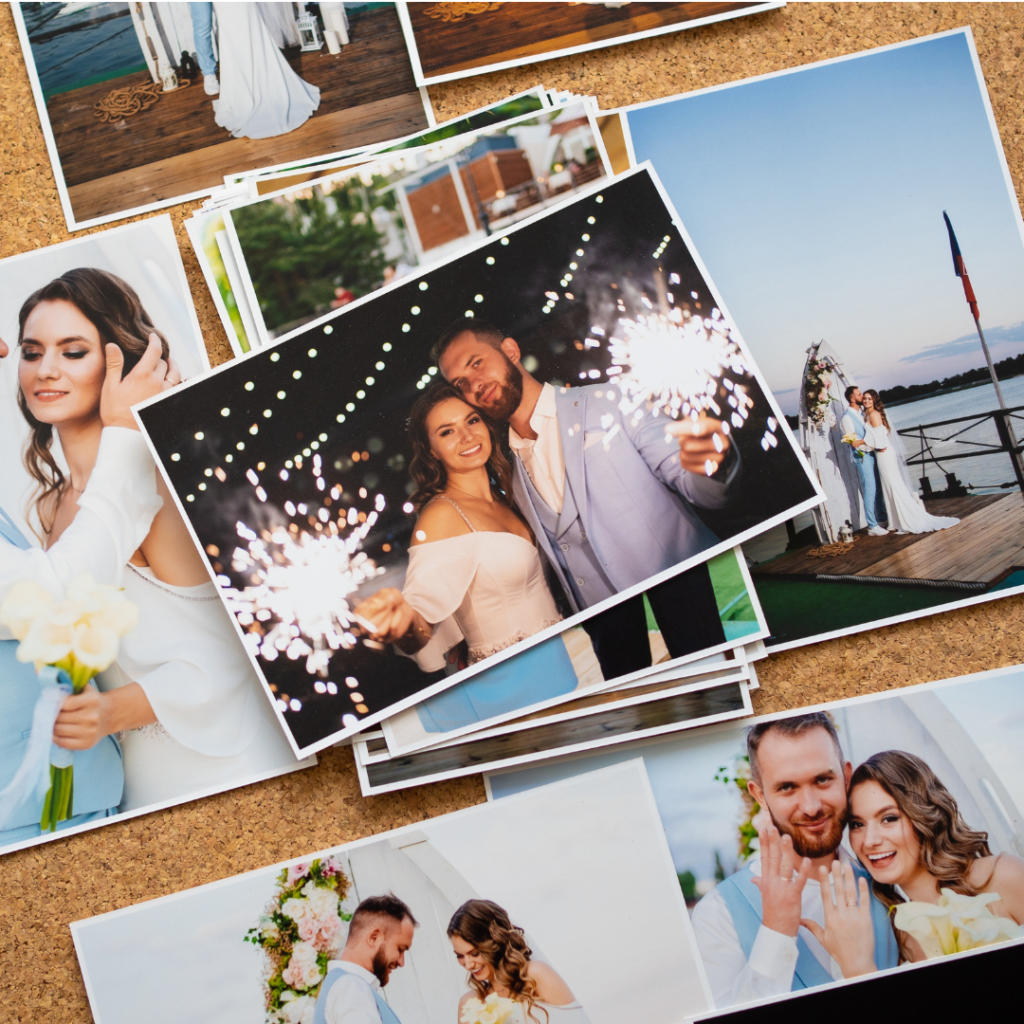
- Determine the central theme that you want your custom photo book to convey. This can be related to important events, vacations, milestones, or even a year-in-review. Gather all photos around your selected narrative/event, eliminate duplicate and similar photos, as well as any photos that do not contribute to your narrative.
- Order your selected photos chronologically by date, to help create a logical flow in your photo book
- Rate each photo based on quality and significance to your story (for example, a rating system of 1-5 with 5 being excellent). Select your final images based on the number of photos you would like in your photo book. We recommend using 48-84 photos in a 24 page album.
Also read: The best ways to organize your digital photos.
STEP 3: Visualize Page Layouts
Consider how you want your photos to be arranged on each page of your photo book. Highlight your standout photos in full-page or panoramic layouts, and group smaller, related photos on a single page – For instance, you might want to provide more visual detail to a specific event in your narrative by grouping a number of similar photos in the same space. Create variety by mixing full-page photos with collages, grids, and smaller images, and include a mix of close-ups, wide shots, portraits and candid moments. Use white space strategically to create balance.
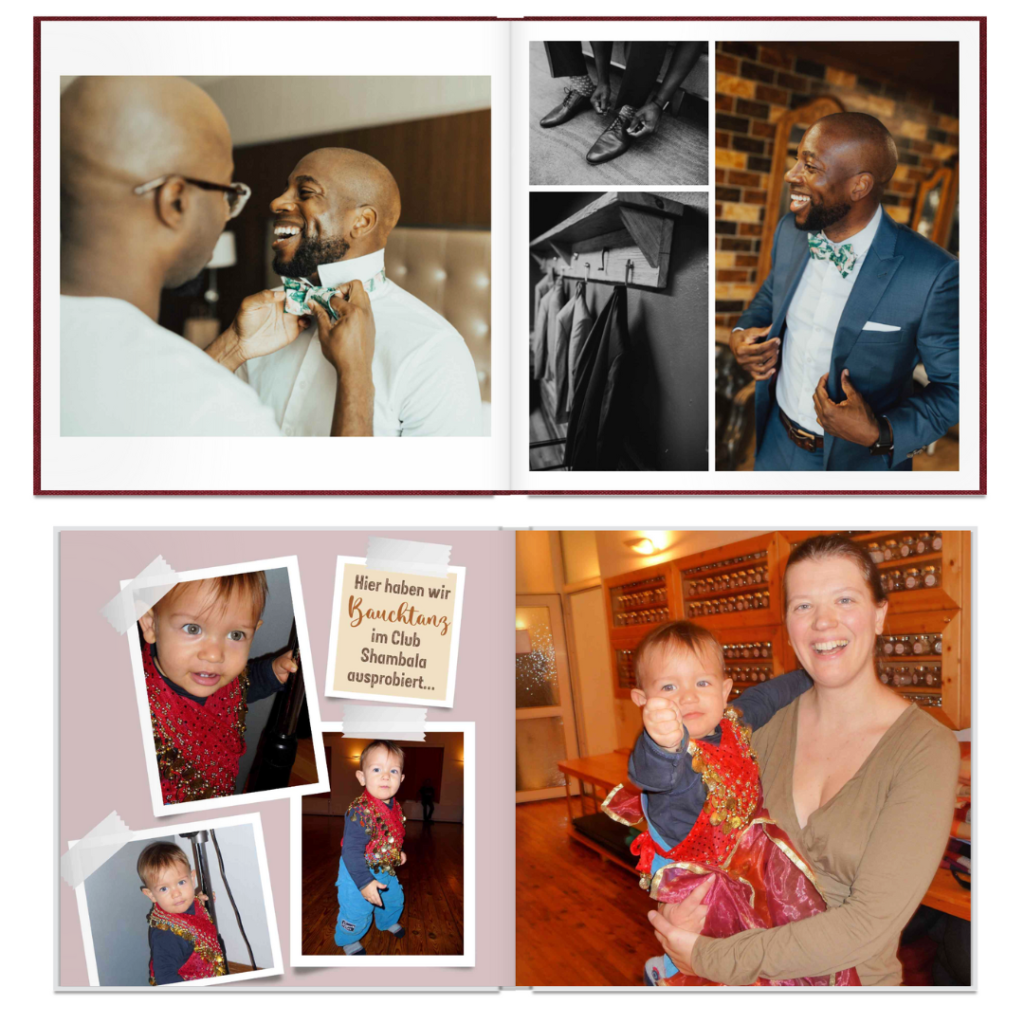
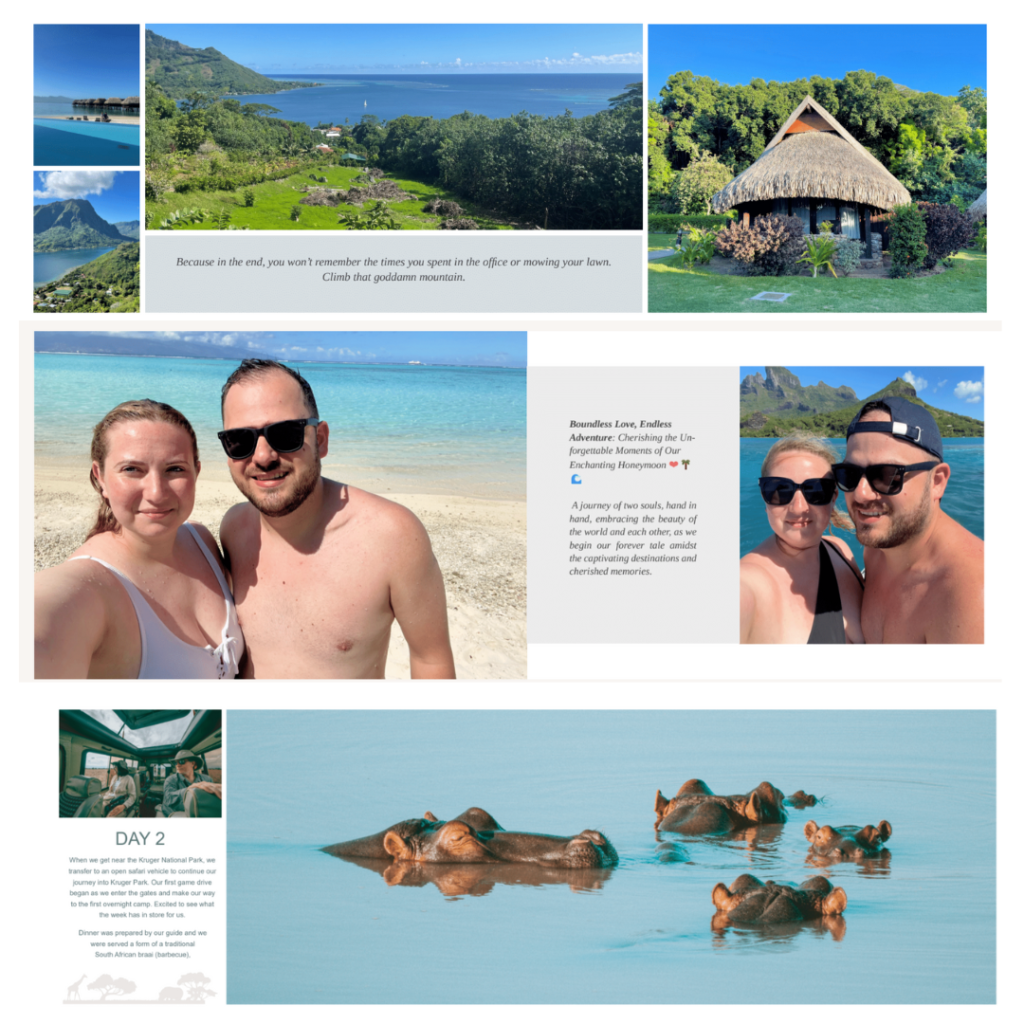
Looking for layout inspiration? Check out some of the diverse stunning layouts that our photo album design professionals created for some of our customers.
STEP 4: Add Text
Add captions and/or descriptions for some of your key photos in order to provide context and enhance the storytelling aspect of your photo book. You could also mention names, dates, and events, or share short personal anecdotes, memories or reflections related to some photos. Some people like to incorporate quotes, poems, or literature excerpts that resonate with the emotions conveyed by the photos.
Ultimately, the type of text you include should align with the story you want to convey, and enhance rather than hinder the visual experience that a photo book is all about. Remember, less is always more when it comes to text while making a photo book.
STEP 5: Tell A Story
Structure your photo book like a story with a beginning, middle and end. For instance, a wedding photo album might include photos that capture the beginning of a relationship, culminating in the wedding ceremony. Or a baby photo book might begin with photos that capture the initial relationship between the parents, leading to maternity photos, and ending with photos of the new-born. Create sequences that show progression, or change over time.
Another great storytelling tool is the use of emotions. Highlight photos that capture the emotions of individuals, as well as the dynamics and relationships between them.
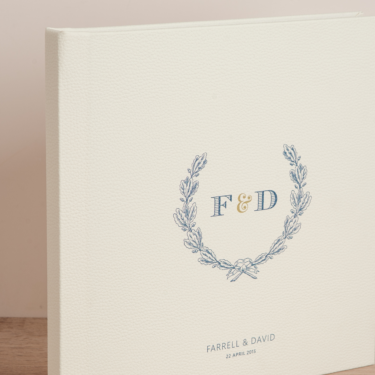
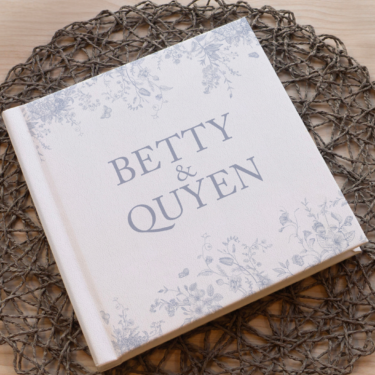
STEP 6: Select A Cover
Think about the overall mood of your photo book. Is it a nostalgic memoir, a joyful family album, a romantic wedding book or an adventurous travel collection? When designing your own personal photo book from scratch, the cover should reflect the book’s essence. For instance, linen covers depict romance & elegance, genuine leather covers exude timelessness, and acrylic covers are all about modern style.
Once you’ve settled on a cover material, consider if you want the cover to highlight a photo, some text, or a combination of both. Adding a cameo photo window to a linen or leather cover conveys luxury, while still offering a level of personalization that encapsulates the mood of your photo book. Text options here could include embossing, UV printing, laser etching, or even a metal plate title. Photo covers that wrap across the front, back and spine, on the other hand, offer you complete freedom of design both in the use of images and text.
Another consideration for a photo album cover is the space that you see it inhabiting. If your photo book is going to take pride of place on your coffee table, think about the style and color scheme of your living room, and choose a cover that is consistent with your décor and style.
Ultimately, trust your instincts and go with a cover that resonates with you the most. It’s a personal choice, and should reflect your overall vision.
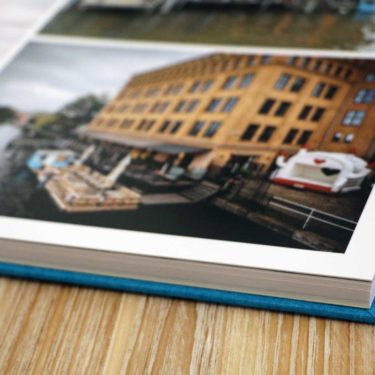
STEP 7: Print!
That’s it. You’re on your way to making a stunning photo book. Give the digital layout of your photo book a careful review to ensure that it aligns with your vision and storytelling goals, and proceed to order the physical copy of your photo book.
Understand that depending on the service or software that you’ve chosen for printing, you will have differing options for paper types, finishes, cover material, and text embossing, and you might have to adjust your choices based on availability.
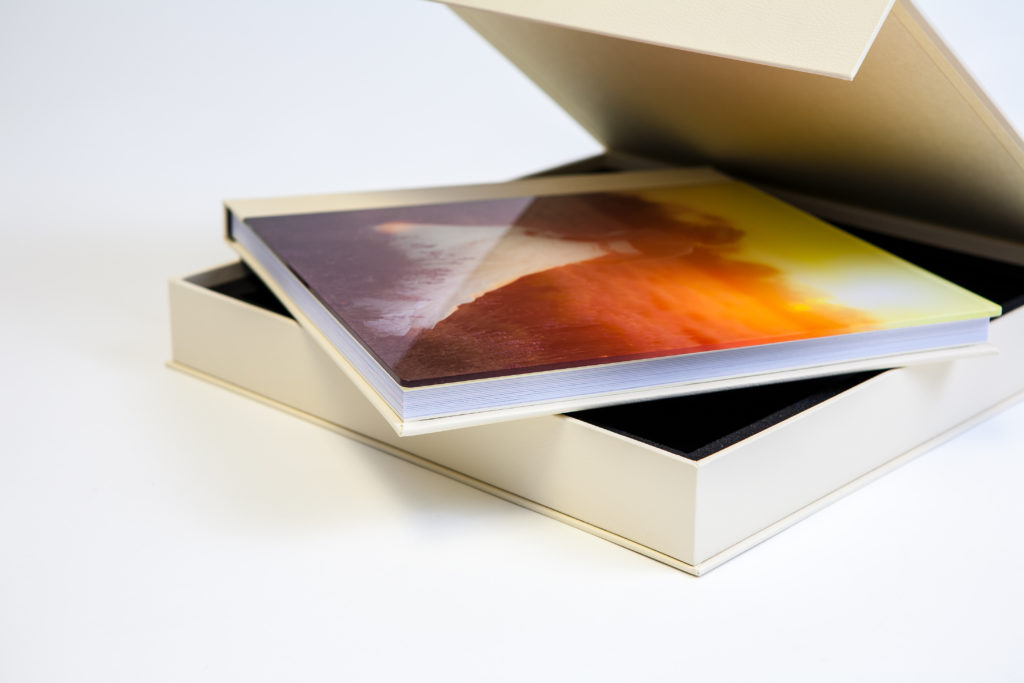
BONUS STEP 8: Package!
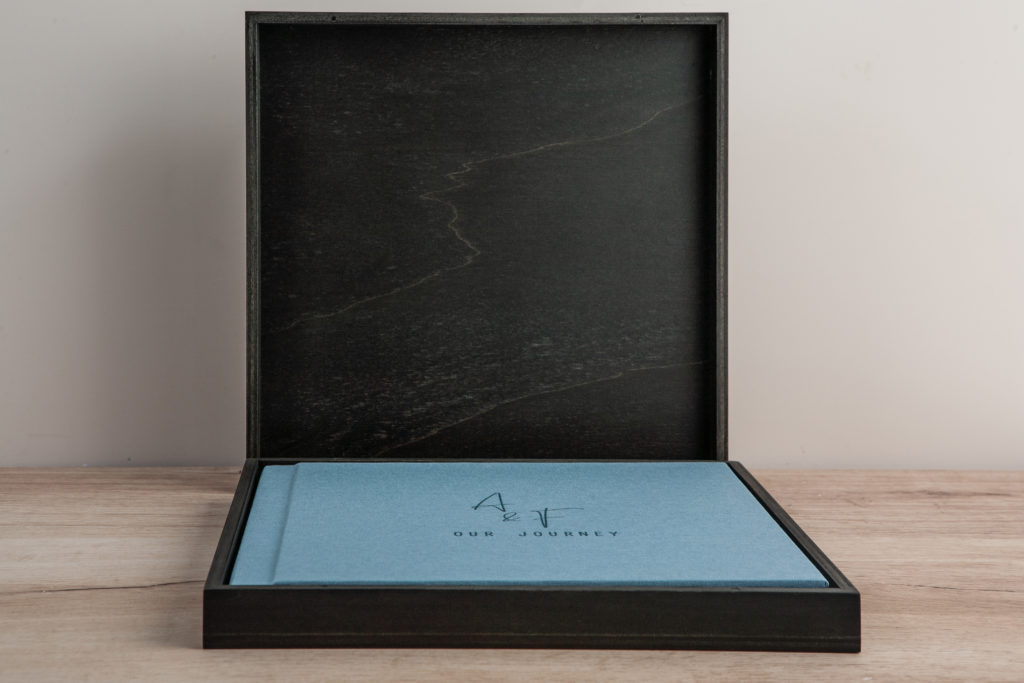
A photo album box that complements your custom photo book can be the perfect accessory that extends the life of your photo book and keeps it in pristine condition for years, while also adding style when gifting the photo book to someone special. Pick a box that matches your album cover, and consider adding a title.
Not a DIYer? No Time?
Use our design service and let our designers do all the work for you. All you have to do is upload your photos, share your vision with our professional artists, sit back and wait for the magic to unfold. With unlimited revisions and no obligation to purchase we guarantee happiness! Just follow these 3 steps:
- Upload your photos and share your vision of the album (or let our experts recommend options). We can also help select the best images, so send as many as you want.
- You’ll receive an online draft of the album to review in 2-4 work days. All designs include unlimited free revisions, so you can be sure you’re completely satisfied before the album is sent to print.
- After you’ve approved the photo album design and payment has been received, the album is professionally printed, carefully packaged and shipped right to your door.
Get started here: Photo Album Design Service